

How to Send Expertise AI Conversations to HubSpot as Tickets
1. Access Integration Page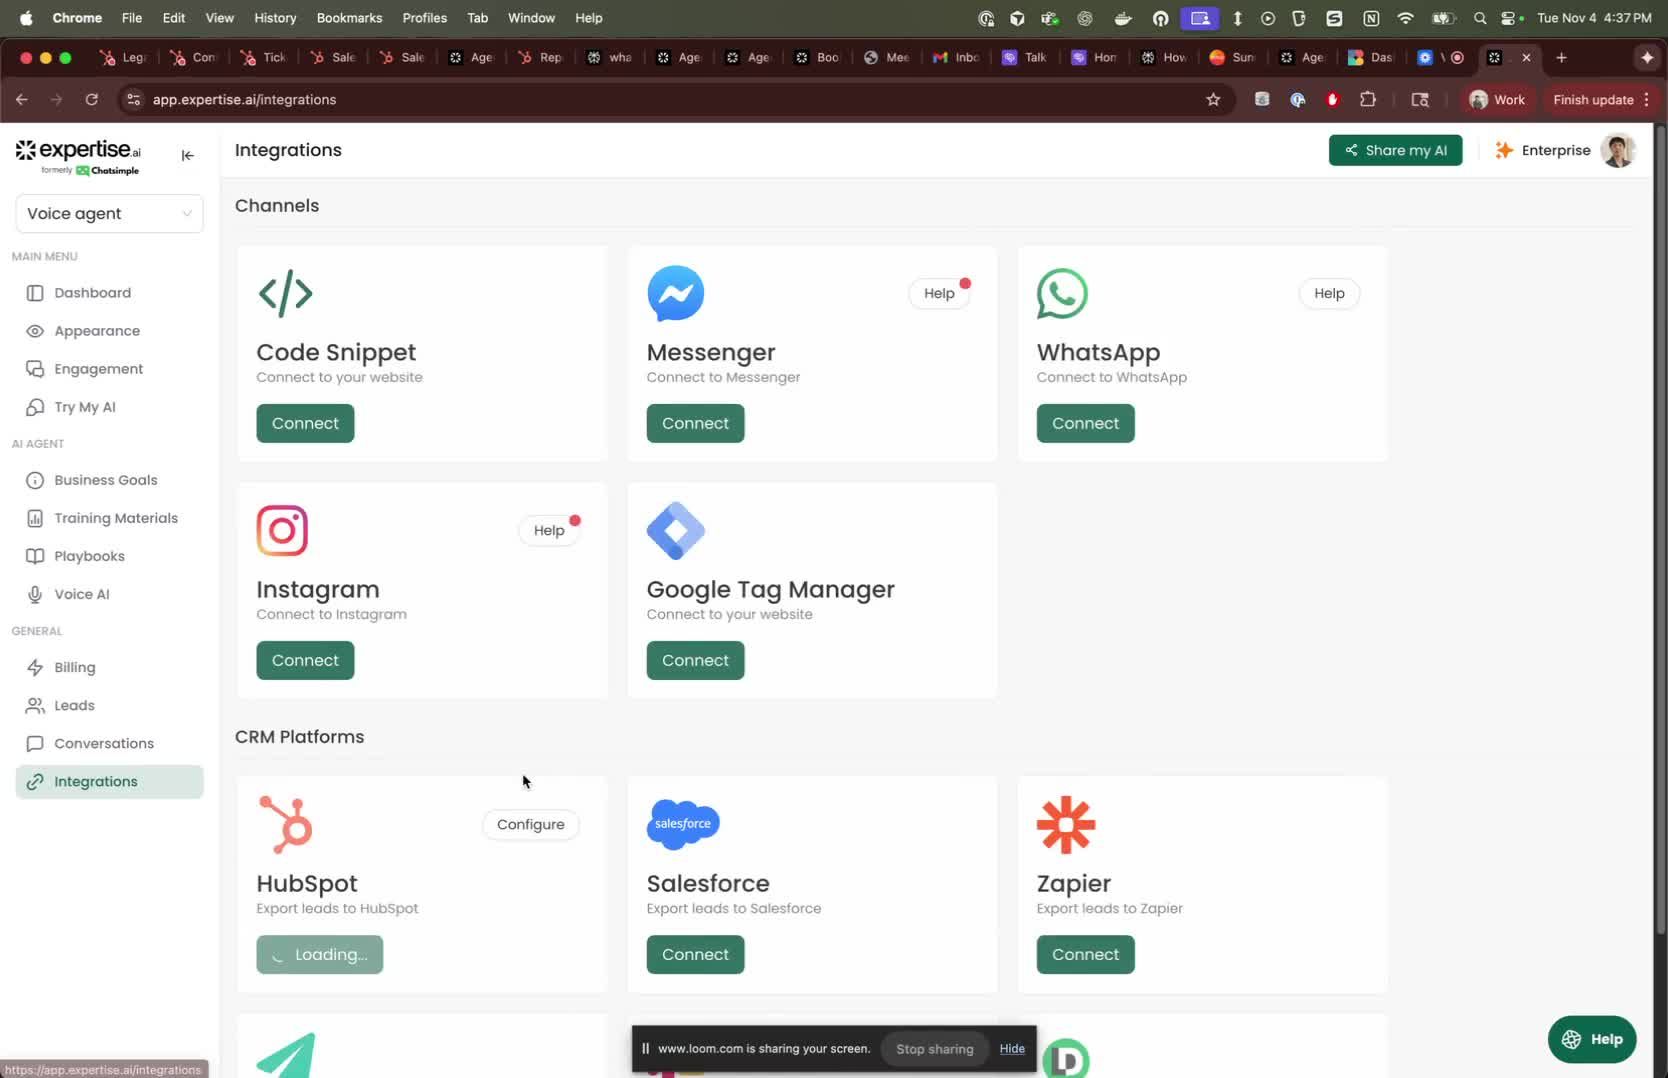
- Start by navigating to the integration page.
- Ensure that your HubSpot integration is already connected to your Expertise AI chatbot. 2. Enable Ticket Creation
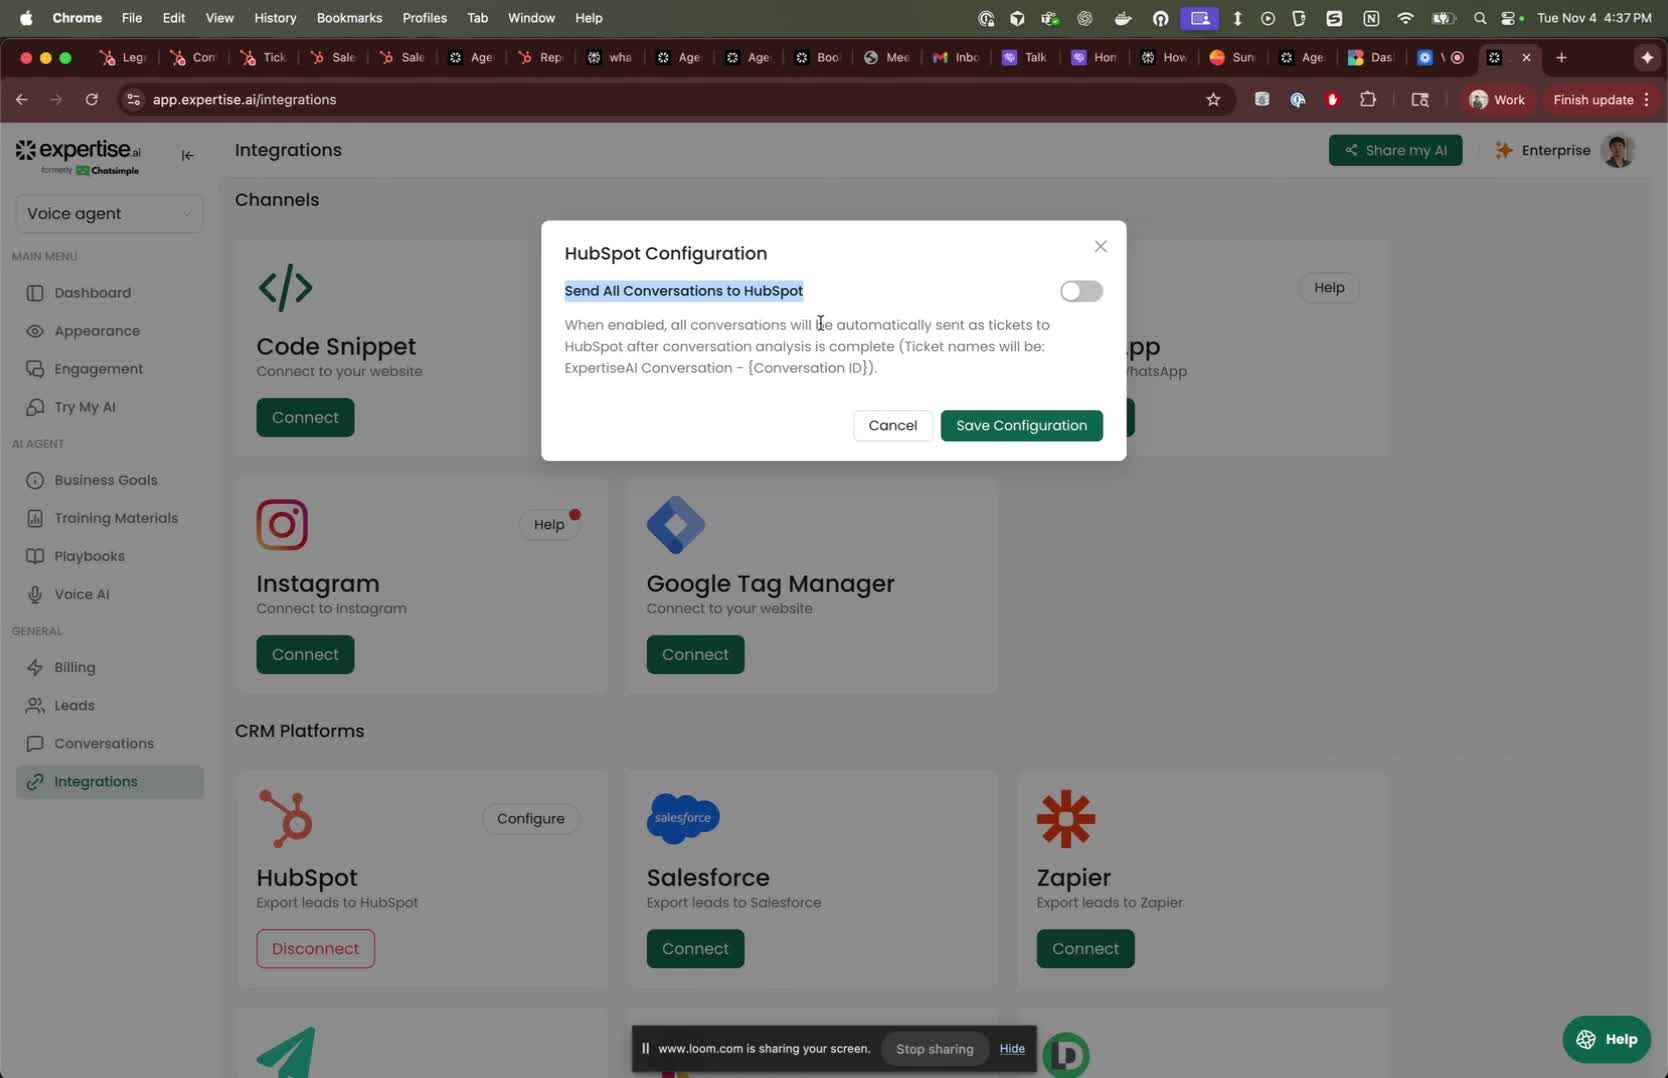
- Toggle the option to enable sending conversations as tickets to HubSpot.
- Note: All conversations will be sent as tickets after analysis is complete. 3. Set Ticket Parameters
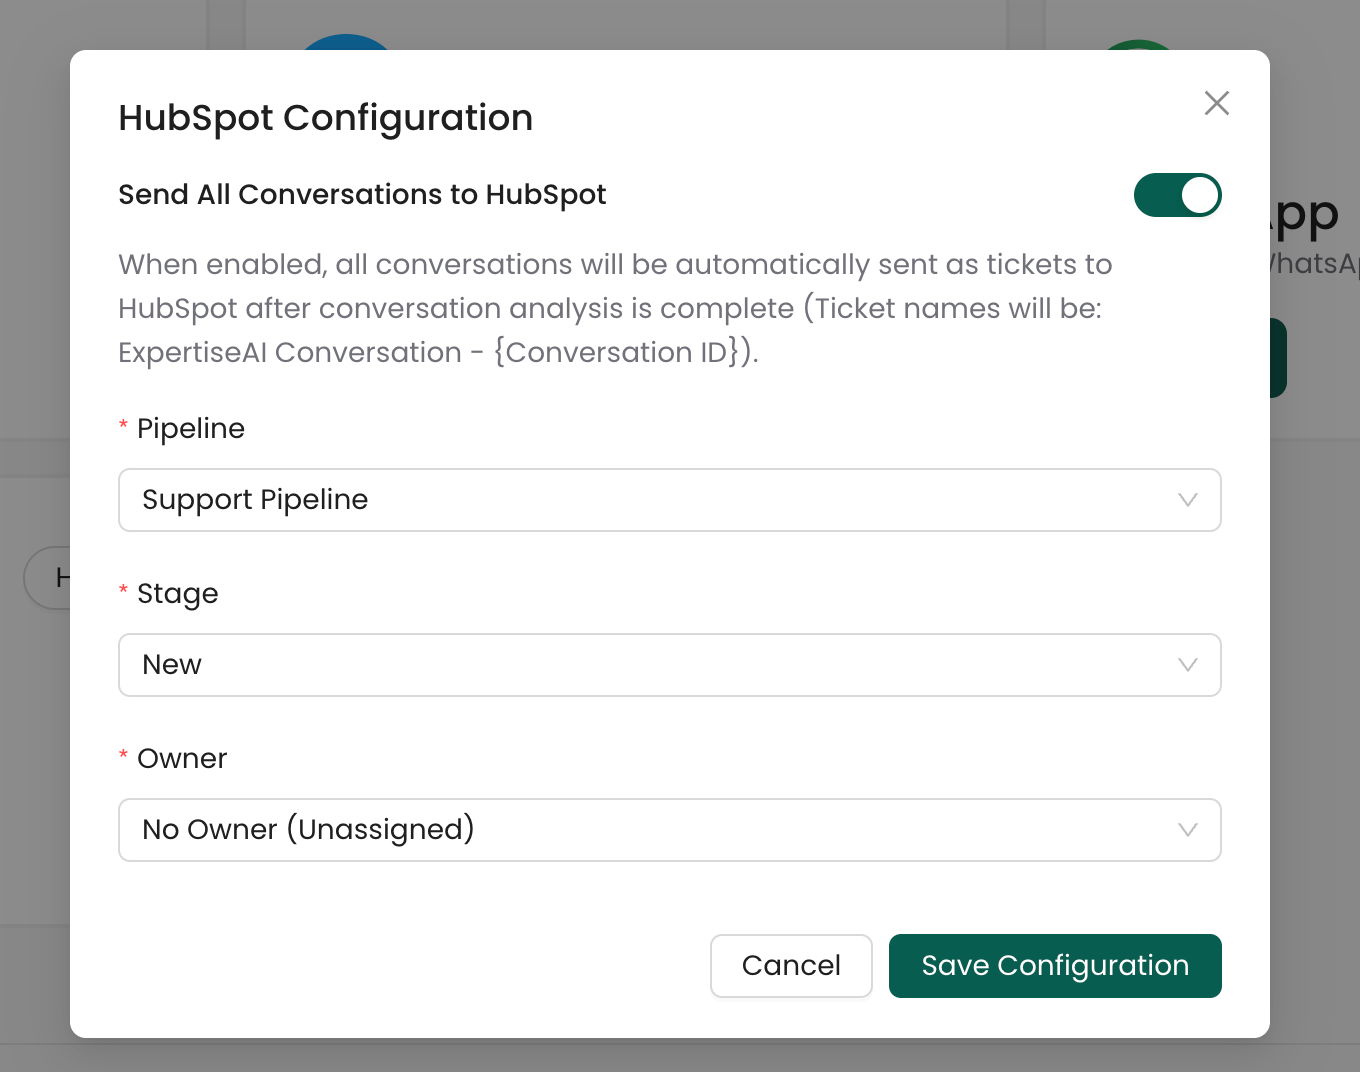
- Define the ticket naming convention (e.g., ‘Expertise AI Conversation, Conversation ID’).
- Select the appropriate pipeline for the tickets.
- Choose the stage where the tickets will enter.
- Assign an owner for the tickets. 4. Save Configuration
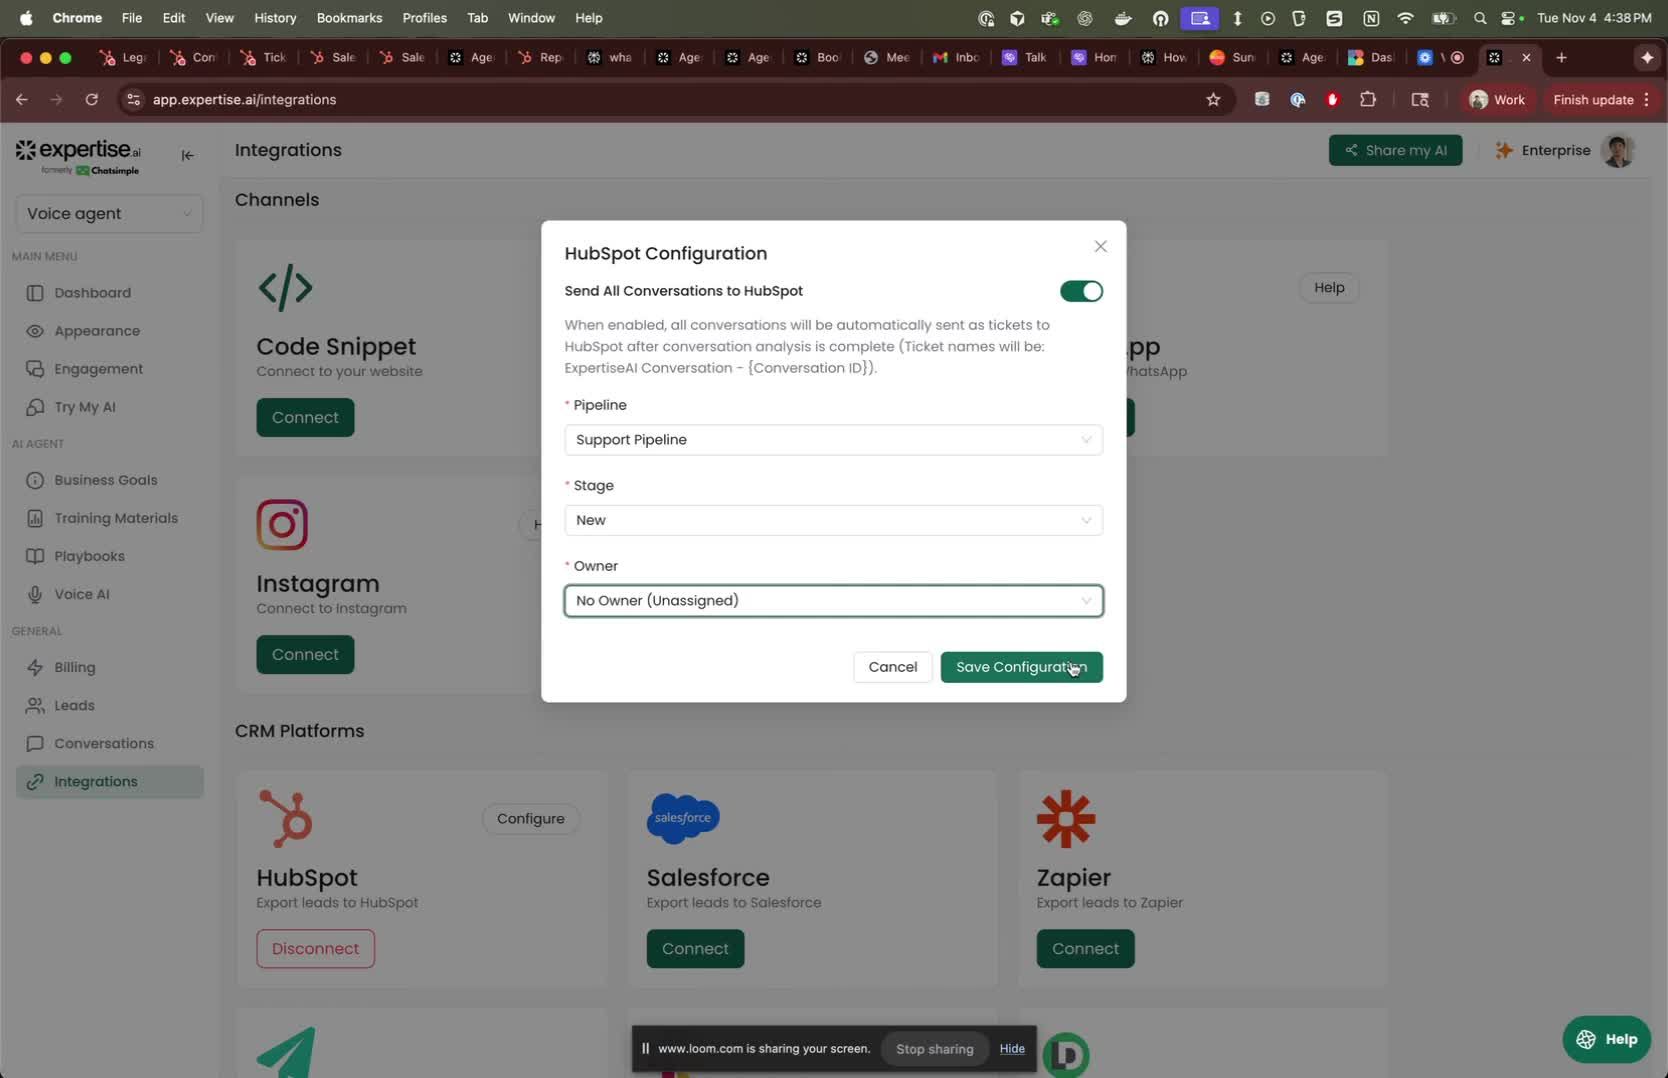
- Click ‘Save Configuration’ to apply your settings. 5. Send a message to test the conversation
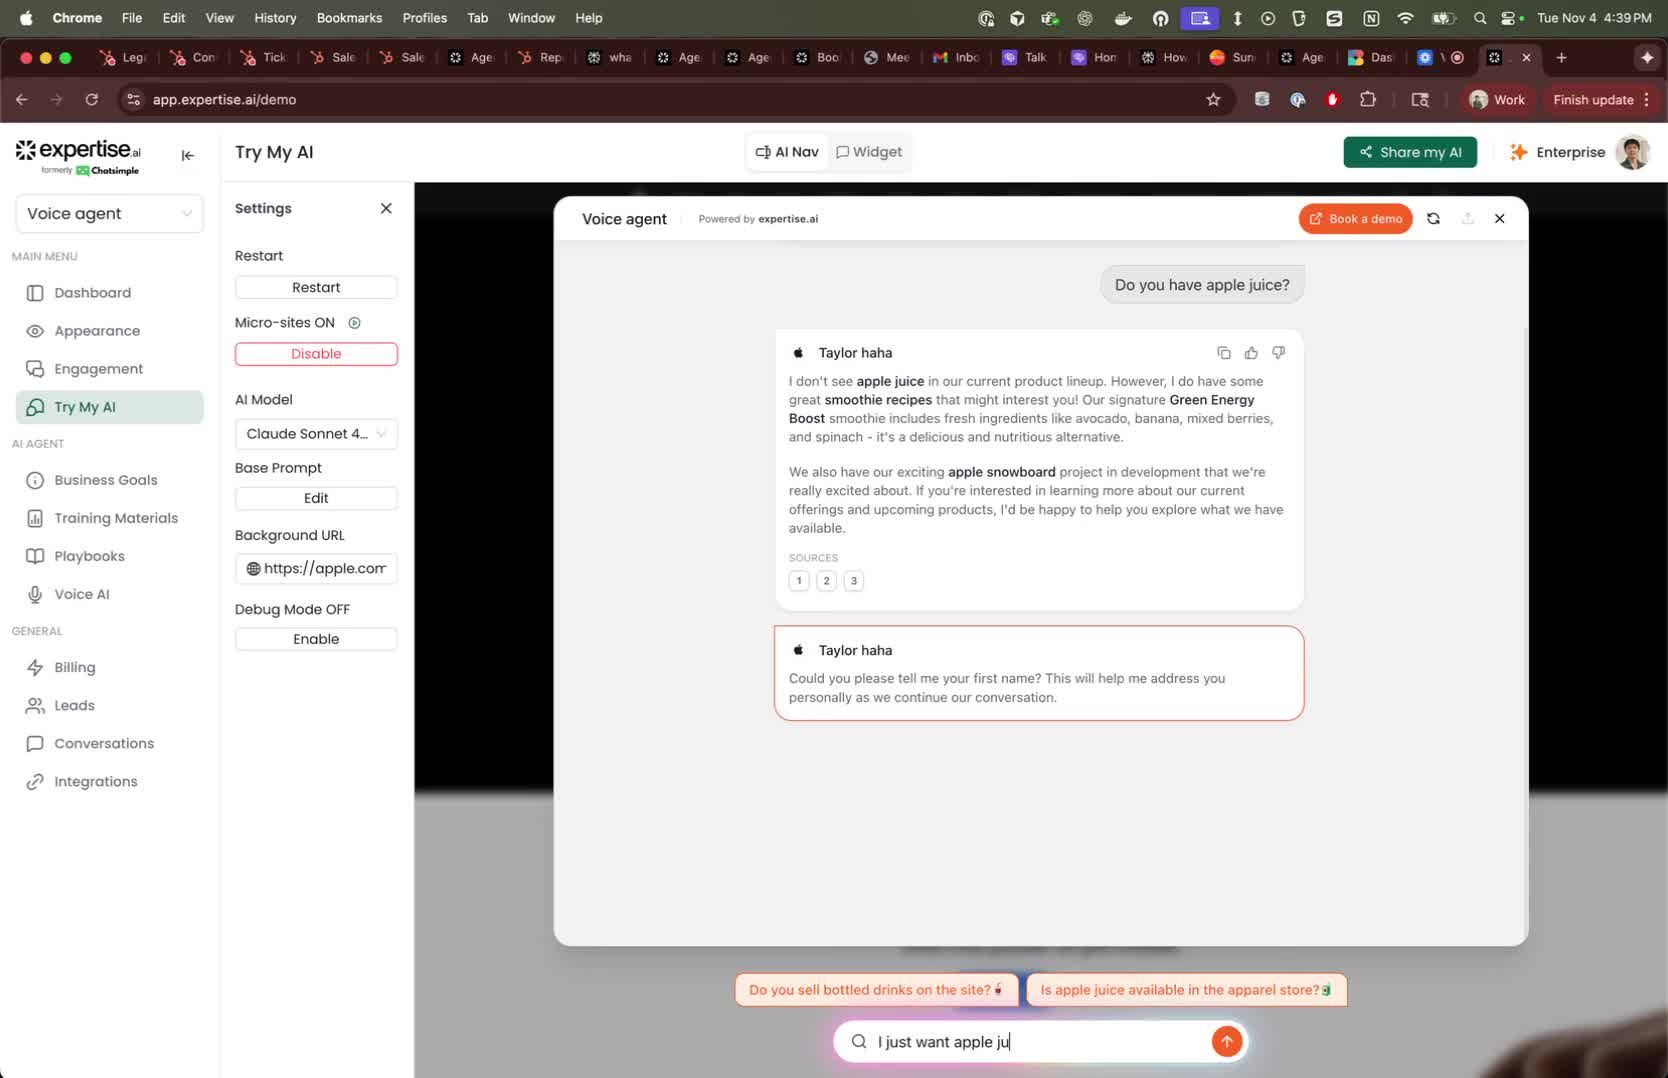
- Send a test message through the chatbot (e.g., ‘Do you have apple juice?’). 6. Wait for Ticket Creation
- After the user stops typing for about five minutes, the conversation will be processed and sent to HubSpot as a ticket. 7. Verify Ticket in HubSpot
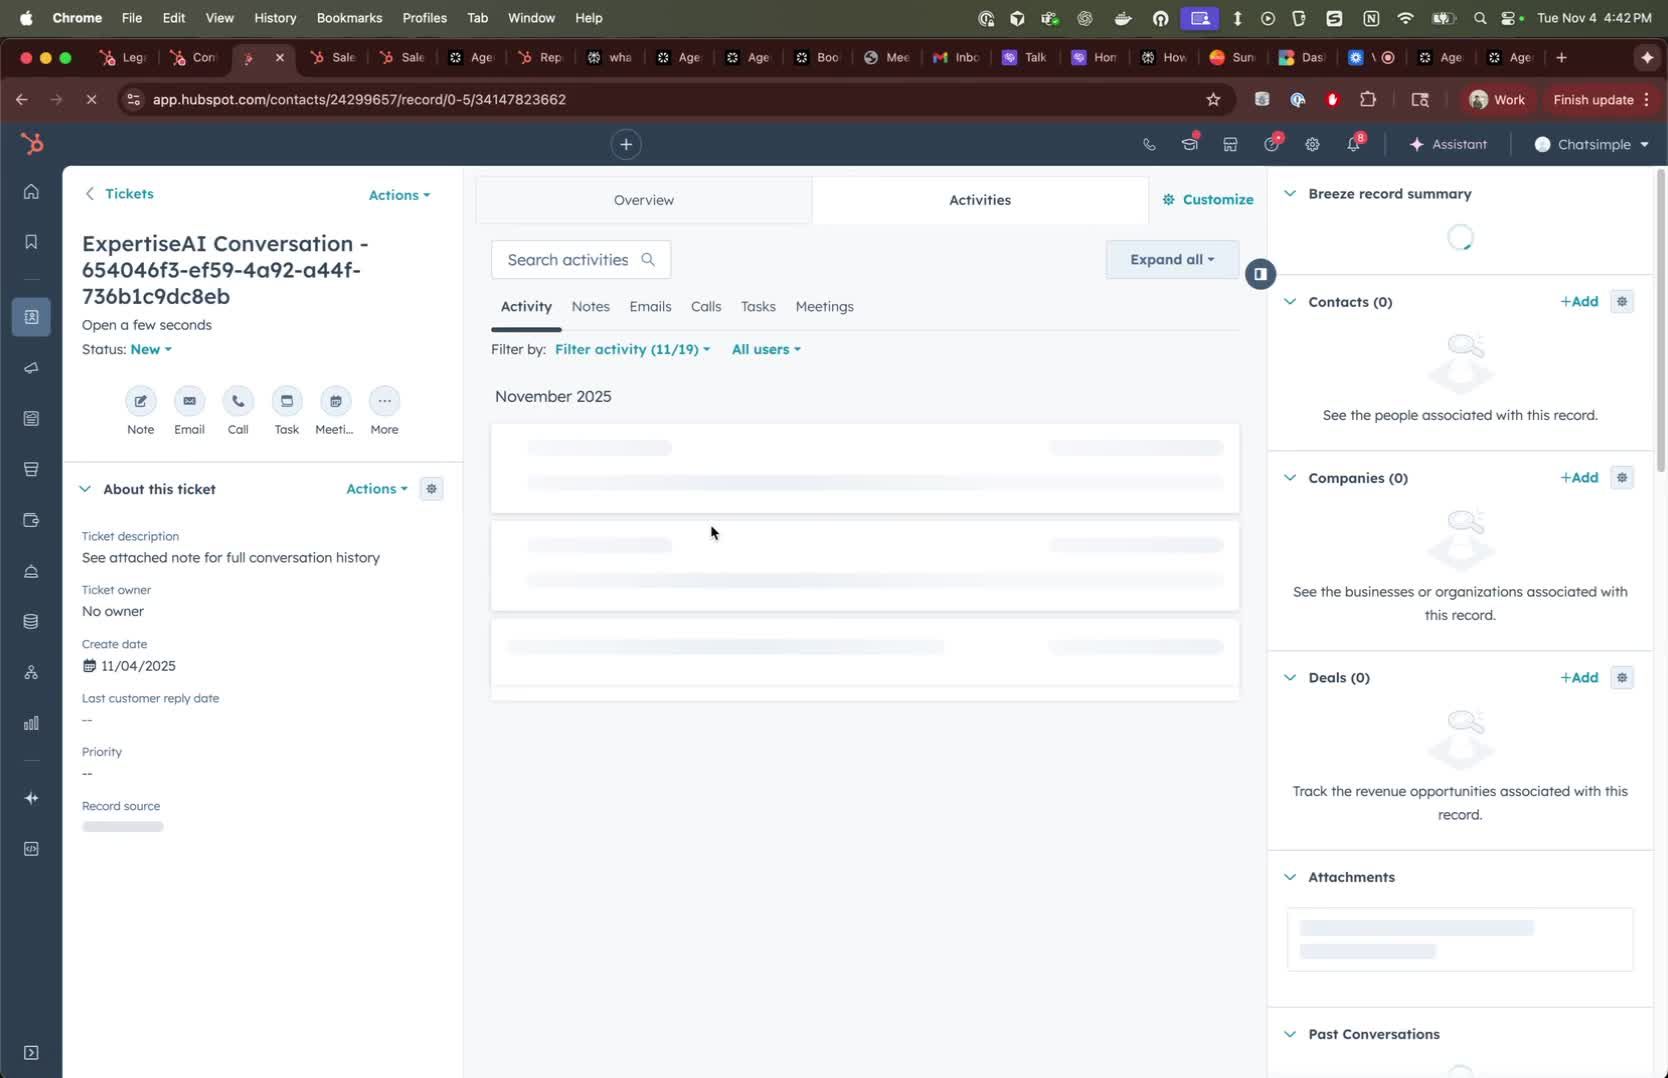
- Go to the HubSpot CRM and check the Tickets section.
- Locate the newly created ticket.
- Open Breeze Agent
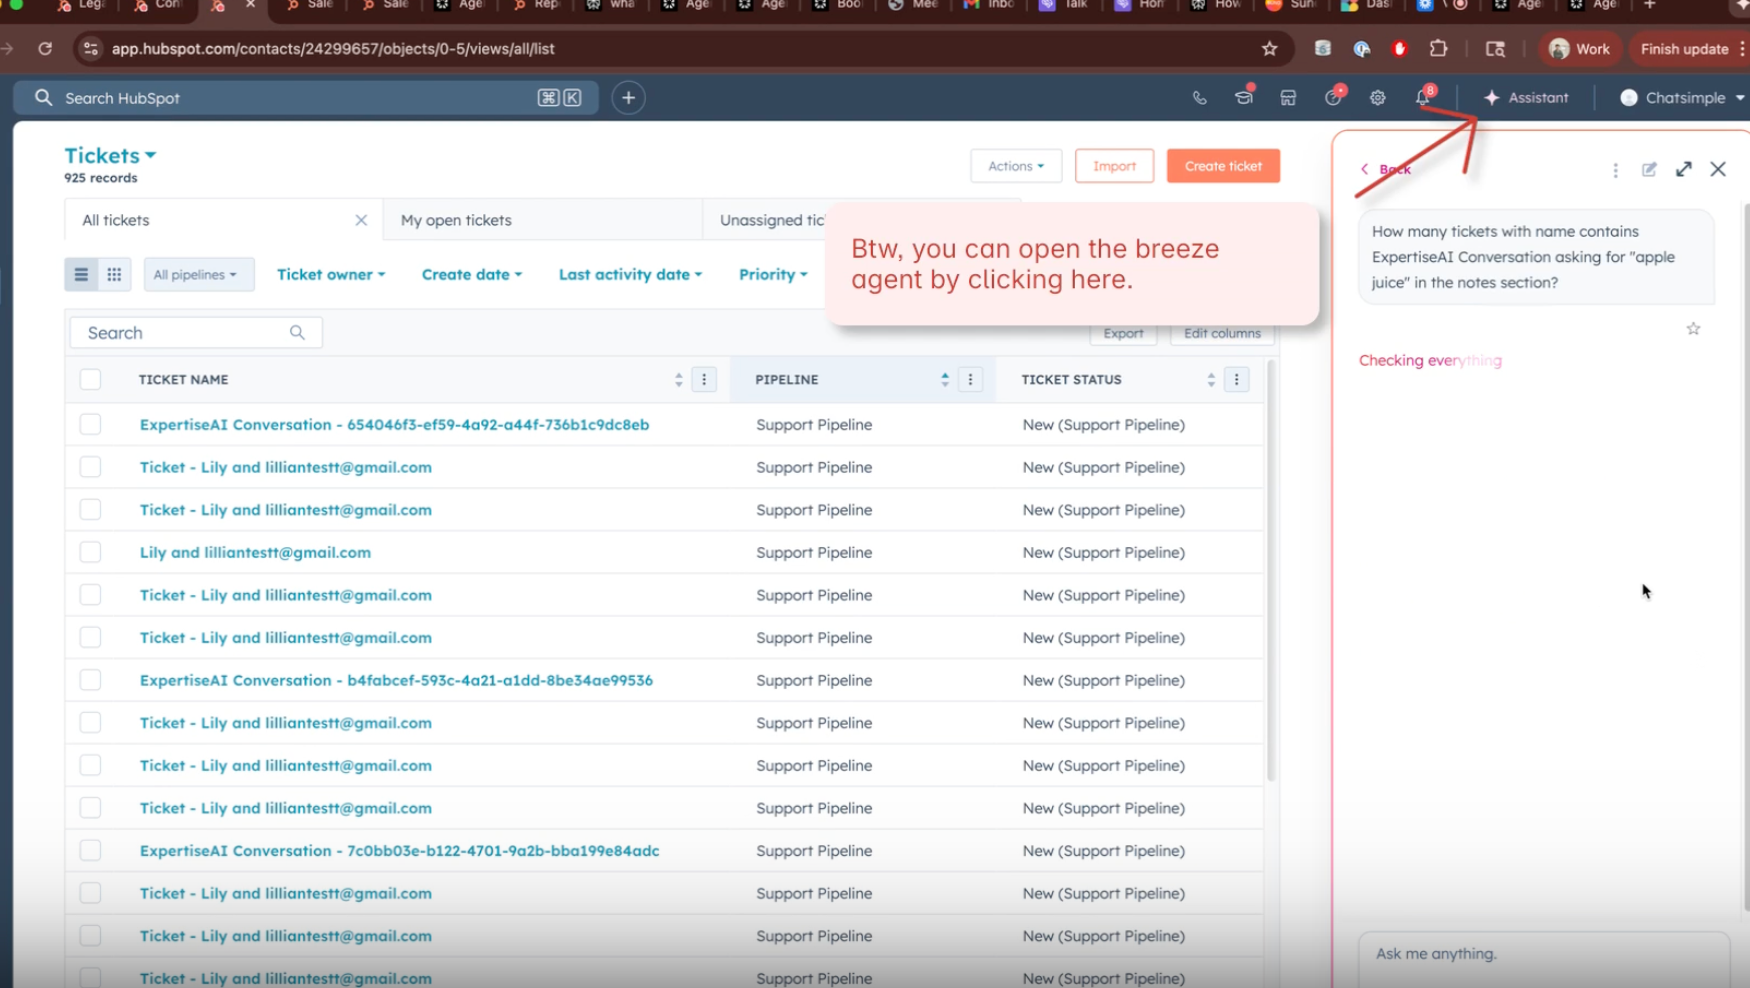
- Use the Breeze agent to search for conversations.
- Look for common terms in the notes section, ensuring to include ‘Expertise AI Conversations’ in your search. 8. Search for Conversations
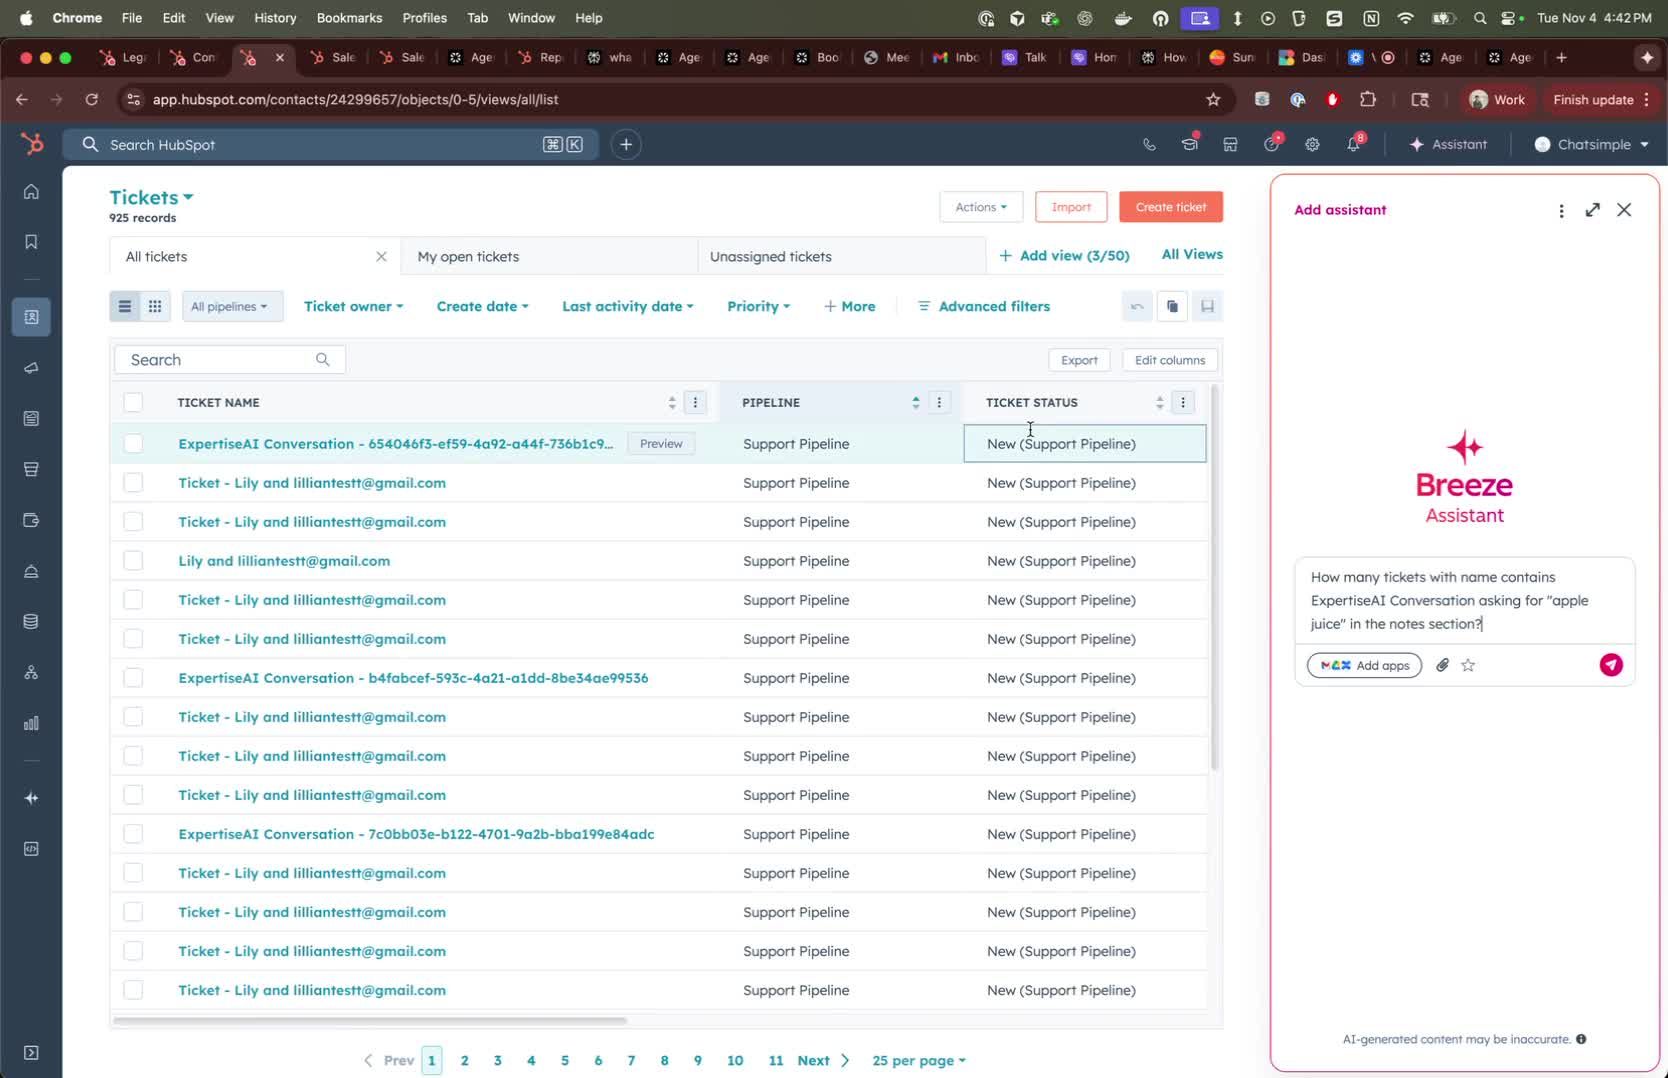
- Use the Breeze agent to search for conversations.
- Look for common terms in the notes section, ensuring to include ‘Expertise AI Conversations’ in your search. 9. Confirm Search Results
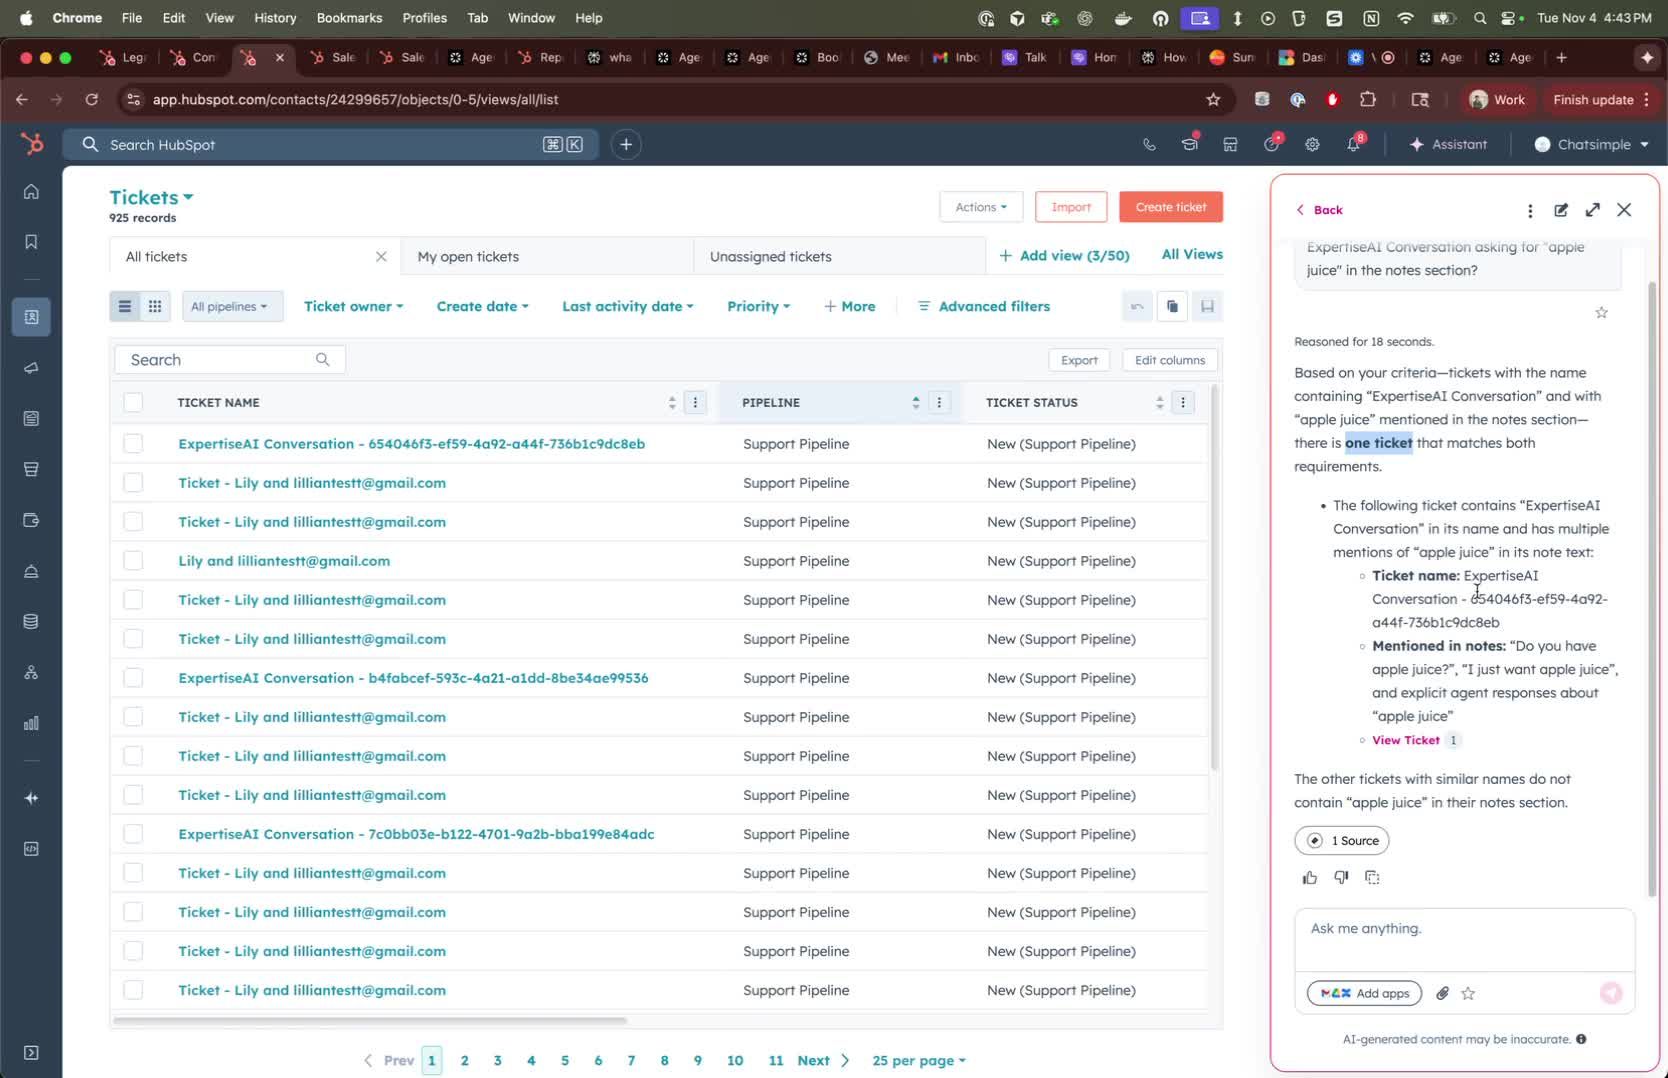
- Verify that the Breeze agent finds the correct ticket based on your search criteria.